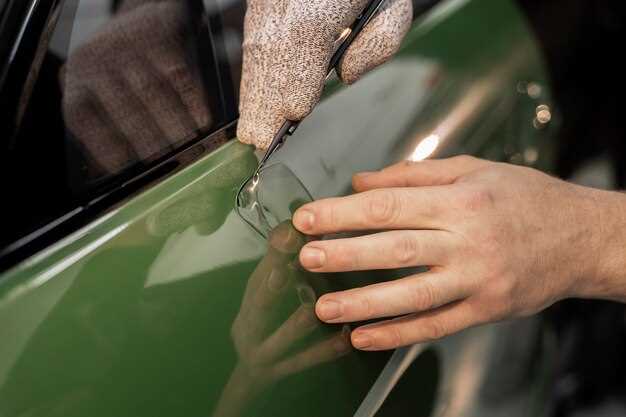
Refinishing your car mirrors is an effective way to refresh the appearance of your vehicle without the need for expensive professional services. Over time, mirrors can become dull, scratched, or chipped, detracting from your car’s overall aesthetic. Fortunately, with the right materials and techniques, you can easily transform them yourself.
This guide will walk you through the essential steps for successfully painting your car mirrors. From choosing the appropriate paint to preparing the surface, each phase is crucial for achieving a smooth and long-lasting finish. Not only will you save money, but you’ll also gain the satisfaction of completing the project on your own.
Before you begin, it’s important to gather all necessary supplies and create a suitable workspace. Proper preparation can make a significant difference in the quality of your refinishing work. Follow along as we delve into the details, ensuring that your car mirrors stand out with a fresh, polished look that complements your style.
Preparing Your Car Mirrors for Painting
Before starting the refinishing process on your car mirrors, it’s crucial to prepare them properly to ensure a smooth and long-lasting finish. Follow these steps to get your mirrors ready for painting.
First, remove the mirrors from their mounting points if possible. This allows for easier access and prevents overspray on your vehicle. Consult your owner’s manual for specific instructions on how to detach them safely.
Once you have the mirrors removed, inspect them for any signs of damage such as chips or cracks. If you find any, consider repairing these issues before painting. Use a sandable filler for chips or cracks; once it’s dry, sand it down to a smooth finish.
Next, clean the surface thoroughly to remove any dirt, grease, or residue. Use a solution of soap and water, followed by a wipe with isopropyl alcohol. This will help ensure proper adhesion of the paint. Make sure to dry the mirrors completely after cleaning.
A layer of primer is highly recommended for better paint adhesion and durability. Choose a primer suitable for plastic or the specific material of your mirrors. Apply the primer evenly, and let it dry according to the manufacturer’s instructions.
Finally, lightly sand the primed surface with fine-grit sandpaper. This step will create a smooth texture for the paint to adhere to and can prevent peeling in the future. Always clean off any dust particles after sanding.
By following these preparation steps, you will set a solid foundation for painting your car mirrors, ensuring a professional-looking result.
Selecting the Right Mirror Paint for Durable Finish

When it comes to refinishing your car mirrors, choosing the right paint is crucial for achieving a durable and visually appealing finish. The type of paint you select can significantly impact the longevity and performance of the coated surface.
Acrylic paint is often recommended for outdoor surfaces due to its resistance to fading and weather-related damage. This type of paint adheres well to various surfaces, making it a reliable option for mirror casing. Make sure to choose acrylic paint specifically designed for auto applications to ensure compatibility and durability.
Enamel paint is another excellent choice for refinishing car mirrors. It provides a tough, glossy finish that can withstand harsh environmental conditions. Enamel paints are known for their hardening properties, which contribute to a lasting effect when properly applied. Look for high-quality automotive enamel for the best results.
Additionally, consider using spray paint designed for automotive use. Spray paints offer an even application and can reach intricate areas of your car mirrors, ensuring comprehensive coverage. Opt for products that indicate they provide UV protection to prevent fading and discoloration over time.
Before painting, ensure that the surface of the mirrors is clean and free of any contaminants. Proper surface preparation is essential for the paint to adhere adequately, thus maximizing the durability of your refinishing project.
Finally, always check the manufacturer’s instructions for application and drying times. Following these guidelines will help you achieve a long-lasting finish that enhances your vehicle’s appearance while protecting the mirrors from the elements.
Step-by-Step Process to Refinish Your Car Mirrors

Refinishing your car mirrors can enhance their appearance and protect them from the elements. Follow this step-by-step guide to achieve a professional look.
Step 1: Gather Your Materials
Before starting, collect all necessary supplies: sandpaper (various grits), automotive primer, paint specifically for mirrors, clear coat, masking tape, and a clean cloth. Make sure to wear gloves and a mask for safety.
Step 2: Prepare the Surface
Clean the mirrors thoroughly to remove dirt and grease. Use a clean cloth with a suitable cleaner. Once dry, sand the mirror surface using fine-grit sandpaper. This will help the new paint adhere better. Wipe away any dust with a dry cloth.
Step 3: Masking
Use masking tape to cover the areas surrounding the mirrors. This will protect your car’s paintwork from any overspray and ensure clean lines.
Step 4: Apply Primer
Shake the automotive primer can and apply a light, even coat to the mirror. Hold the spray can about 6-12 inches away to avoid drips. Allow the primer to dry according to the manufacturer’s instructions.
Step 5: Paint the Mirrors
Once the primer is dry, shake the paint can well. Apply several thin, even coats of paint to the mirrors, allowing each coat to dry before applying the next. This helps prevent runs and achieves a smooth finish.
Step 6: Clear Coat Application
After the final coat of paint has dried, apply a clear coat for protection. This will enhance the shine and durability of the paint. As with the paint, use several thin layers and allow each to dry completely.
Step 7: Remove Masking Tape
Carefully peel off the masking tape once the clear coat is dry. This will reveal sharp lines and a clean look.
Step 8: Final Inspection
Examine your work to ensure even coverage and a flawless finish. Touch up any areas if necessary.
Following these steps will allow you to refinish your car mirrors effectively, giving them a fresh and updated appearance.


