


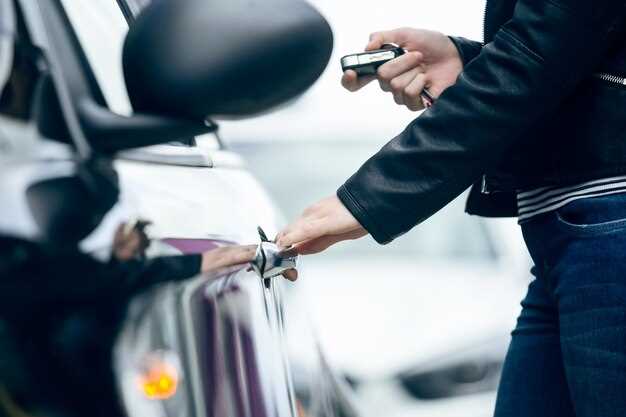
Debadging your car can significantly change its overall look, giving it a cleaner and more streamlined appearance. Many car enthusiasts choose to remove emblems for various reasons, including personal preference, customization, or simply to enhance the aesthetic appeal of the vehicle. However, the process must be approached with care to avoid damage to your car’s paintwork.
In this guide, we will walk you through the necessary steps to safely debadge your car, ensuring you achieve a professional finish without compromising the integrity of your vehicle. We’ll discuss the tools you’ll need, the techniques to use, and tips to ensure the surface remains clean and unmarred throughout the debadging process. By following these instructions, you can transform your car’s appearance effortlessly and confidently.
Choosing the Right Tools for Emblem Removal
Removing an emblem from your car requires careful selection of tools to ensure a clean and damage-free process. The right tools will not only help you remove the emblem effectively but also minimize the risk of scratching or denting the surface of your vehicle.
Adhesive Remover: A specialized adhesive remover is essential for loosening the glue that holds the emblem in place. Choose a product that is safe for automotive finishes, ensuring it won’t damage the paint or clear coat.
Plastic Scraper: A plastic scraper is ideal for gently prying off the emblem without scratching the paint. Metal tools can easily cause damage, so opt for a soft plastic option that can slide under the emblem with ease.
Heat Gun or Hair Dryer: Applying heat can soften the adhesive, making the emblem removal much smoother. Use a heat gun or a hair dryer on a low setting, directing it at the emblem for a few seconds to assist in loosening the adhesive.
Microfiber Cloth: Keep a microfiber cloth handy for cleaning the area after the emblem has been removed. This cloth will help you wipe away any residual adhesive and ensure that the surface is clean before applying any new emblems or finishes.
Gloves: Wearing gloves not only protects your hands from chemicals in the adhesive remover but also helps you maintain a firm grip on the tools you are using. This added control can prevent unintended slips while removing the emblem.
By selecting these tools carefully, you ensure a clean and effective emblem removal process while protecting your vehicle’s surface from damage.
Step-by-Step Guide to Removing Car Badges
Removing car badges or emblems can enhance the sleek look of your vehicle. Follow these steps for a clean and damage-free removal process.
Step 1: Gather Your Tools
Before starting the badge removal, collect the necessary tools. You will need a heat gun or hairdryer, dental floss or fishing line, adhesive removal solvent, a plastic scraper or credit card, and a microfiber cloth for cleaning.
Step 2: Heat the Badge
Use the heat gun or hairdryer to warm the area around the emblem. This softens the adhesive used to attach the badge, making it easier to remove. Keep the heat source at least a few inches away from the surface to avoid damage.
Step 3: Use Dental Floss or Fishing Line
Take a piece of dental floss or fishing line and gently slide it behind the badge. Use a back-and-forth motion to cut through the adhesive. Be careful not to scratch the car’s paint during this process.
Step 4: Remove the Badge
Once the adhesive is cut, gently pull the badge away from the surface. If it resists, apply more heat and try again. Take your time to ensure both the emblem and the paint remain intact.
Step 5: Clean Residual Adhesive
After the badge is removed, you may notice adhesive residue left on the surface. Apply an adhesive removal solvent to a microfiber cloth and gently rub the area until it is clean. Ensure you follow the product instructions for the best results.
Step 6: Final Cleaning
Once the surface is clear of adhesive, wash the area with soap and water to remove any traces of the solvent. Dry with a clean cloth to avoid water spots and to ensure a pristine finish.
By following these steps carefully, you can safely remove car badges without causing any damage to your vehicle. Enjoy the refreshed look of your car!
Cleaning and Finishing for a Sleek Look
After successfully debadging your car, it is essential to clean the area thoroughly to achieve a sleek look. Begin by using a soft cloth and mild soap with water to gently remove any adhesive residue left behind. Avoid harsh chemicals as they can damage the paint.
Once the surface is clean, dry it completely with a microfiber towel to prevent water spots. Inspect the area for any remaining residue, and if needed, apply a bit of automotive adhesive remover. Be careful to test it on a small, inconspicuous area first to ensure it does not harm the paint.
To enhance the finish, consider applying a quality wax or sealant. This will not only protect the paint but also give it a glossy look. Apply the wax in a circular motion, allowing it to cure as per the manufacturer’s instructions, before buffing it to a shine.
Finally, for a perfect touch, you can polish the area where the emblem was located. Using a gentle polish will help blend any differences in paint depth and create a uniform, sleek appearance across the entire panel. Regular maintenance will keep the look pristine and elevate the overall aesthetic of your vehicle.


