


A car bumper is a vital component of vehicle safety and aesthetics, often suffering from damage due to minor collisions or wear and tear. Understanding damage assessment and the necessary repair steps can save time and money while restoring your bumper to its original condition. With the right approach, even minor damage can be addressed effectively, ensuring that your vehicle remains safe and visually appealing.
Before diving into the repair process, it is essential to evaluate the extent of the bumper damage. Identifying cracks, dents, or paint chipping will determine whether you can handle the repairs yourself or if professional assistance is required. In many cases, DIY methods can be employed to restore functionality and appearance, but know your limits–with significant issues, seeking a professional repair may be the best course of action.
This article will provide a comprehensive guide to effectively address bumper repair. From gathering necessary tools and materials to the final touch-ups, each step will be detailed to equip you with the knowledge needed for a successful outcome. Let’s embark on this journey to revive your car’s bumper, enhancing both safety and style.
Assessing the Extent of Bumper Damage
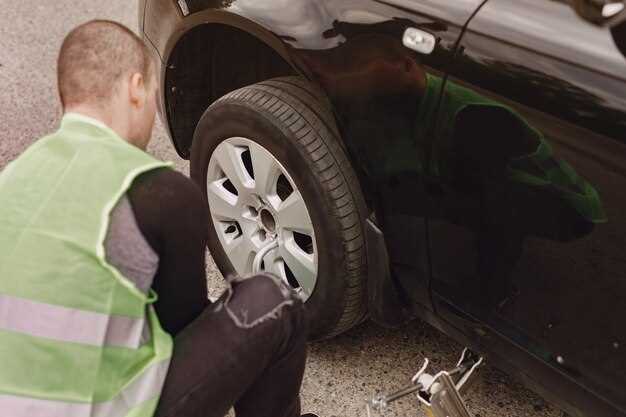
The initial step in the repair process involves thoroughly assessing the extent of the damage to the bumper. This evaluation is crucial for determining the necessary repairs and whether replacement is needed. Start by examining the surface for visible cracks, dents, or scratches. Take note of any paint peeling or discoloration, as these indicators might suggest underlying structural issues.
Next, consider the functionality of the bumper. Ensure that it is securely attached to the vehicle and check for any misalignment. A bumper that is out of place may not only be aesthetically unpleasing but can also compromise safety features. If the bumper has absorbed an impact, there might be damage that is not immediately visible; thus, a closer inspection is warranted to assess potential deformation.
Additionally, document the damage with clear photographs from multiple angles. This visual record will be beneficial for insurance claims and for comparing before and after the repair process. It’s essential to quantify the extent of the damage to make informed decisions about repair versus replacement. Understanding both the cosmetic and structural impacts will guide the next steps effectively.
Gathering Necessary Tools and Materials for Repair
To effectively repair a damaged car bumper, it is crucial to gather all necessary tools and materials beforehand. This preparation ensures a smooth process and helps avoid interruptions during the repair. Start by collecting a few essential tools including a screwdriver set, socket wrench, and pliers. These implements will assist in removing the bumper and any damaged components effectively.
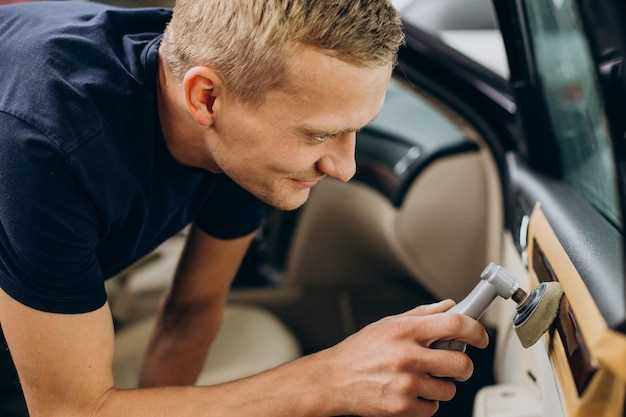
Next, obtain a heat gun or a hairdryer for softening plastic, which can be beneficial if the bumper has dents or warped sections. Additionally, a sanding block or electric sander will be required for surface preparation before applying any repair materials.
For the actual repair, you will need high-quality epoxy or a plastic repair kit specifically designed for automotive use. These materials are vital for filling cracks and securing loose parts. When dealing with extensive damage, consider using fiberglass mesh and resin for added strength and durability.
Don’t forget to have sandpaper of various grits, primer, and paint that matches your vehicle’s color. These items will help restore the bumper’s appearance after the repair has been completed. Finally, gather safety equipment like gloves and goggles to protect yourself during the repair process.
Applying Repair Techniques for Different Types of Bumper Damage
When dealing with bumper damage, the process of applying repair techniques varies depending on the extent and type of damage incurred. Here are the most common types of bumper damage and appropriate repair methods for each.
Minor Scratches and Scuffs: For minor scratches or scuffs, start by cleaning the affected area thoroughly with soap and water. Once dry, use a fine-grit sandpaper to gently buff the scratch. Follow up by applying a suitable touch-up paint that matches your car’s color. This will help restore the bumper’s appearance with minimal effort.
Plastic Cracks: If the damage involves cracks in a plastic bumper, the repair process requires more attention. First, clean the crack area and ensure it is free from dirt. A plastic repair adhesive or a specialized bumper repair kit can be used to bond the cracked sections together. After applying the adhesive, clamp the area to ensure a tight seal. Once dried, sand the surface to smooth it before painting over with matching color.
Dents: In cases of dented bumpers, use a heat source, such as a hairdryer, to warm up the plastic, making it more pliable. Once heated, use a suction cup tool to directly pull the dent out. If the dent is deep, applying a filler material may be necessary before sanding it down for a seamless repair. Finish with paint to match the bumper.
Severe Damage: For significant damage that compromises the bumper’s structural integrity, replacing the bumper may be the only viable option. In this process, remove the damaged bumper by unscrewing it from its clips and connectors. Install the new bumper by aligning it properly and securing it in place. This ensures that the car maintains its safety features and overall look.
In conclusion, the repair techniques applied will significantly depend on the nature of the damage sustained by the bumper. By following these outlined processes, car owners can restore their bumpers and retain the vehicle’s aesthetic appeal while ensuring functionality.


