


In the world of automotive detailing, paint correction plays a crucial role in restoring the beauty of a vehicle’s exterior. Over time, cars are often subjected to various environmental factors, resulting in imperfections such as swirl marks, scratches, and oxidation. These flaws not only diminish the vehicle’s aesthetic appeal but can also affect its overall value.
Paint correction is a meticulous process that involves using specialized products and techniques to eliminate or minimize these imperfections. By carefully polishing the paint surface, detailers can reveal a smooth, glossy finish that enhances the vehicle’s appearance. Understanding the significance of paint correction is essential for any car owner who desires to maintain the integrity and attractiveness of their investment.
Moreover, investing in paint correction offers more than just visual benefits. A well-maintained paint job can protect the underlying layers from further damage caused by contaminants and UV exposure. This preventive measure not only ensures longevity but also helps preserve the car’s value over time, making paint correction an essential aspect of effective automotive care.
Common Types of Imperfections in Car Paint and How to Identify Them
Car paint imperfections can significantly affect the aesthetic appeal and resale value of a vehicle. Understanding these imperfections is essential for effective paint correction. Here are some common types and how to identify them.
Swirls: Swirls are light scratches that form circular patterns on the paint surface. They are often caused by improper washing techniques or the use of dirty cloths. To identify swirls, examine the paint under direct sunlight or bright light; swirls will appear as fine hairline scratches that reflect light in various directions.
Scratches: Scratches vary in depth and can be classified into surface scratches and deep scratches. Surface scratches affect the clear coat, while deep scratches penetrate the base coat or primer. To identify scratches, run your fingers over the affected area; if you can feel the scratch, it is likely deep. Dark-colored cars showcase scratches more prominently than lighter hues.
Oxidation: Oxidation occurs when the paint is exposed to UV rays and environmental contaminants over time, leading to a dull, faded appearance. Identifying oxidation is straightforward; if the paint looks hazy or chalky and lacks depth, it is likely oxidized. Additionally, rubbing your hand over the surface may reveal a rough texture.
Water Spots: Water spots are mineral deposits left on the paint after water evaporates. They can be identified as small, circular marks that may be white or brown. If these spots remain after washing, they are a sign of etched-in impurities that may require paint correction to fully restore the surface.
Bird Droppings and Tree Sap: These substances can create significant damage to car paint if left untreated. Bird droppings contain acidic components that can etch the clear coat, while tree sap can harden and become difficult to remove. Look for dark, sticky residues or dull spots on the paint surface as signs of these imperfections.
Clear Coat Failure: This occurs when the clear coat layer begins to peel or separate from the base paint. To identify clear coat failure, look for bubbly or peeling areas across the vehicle’s surface. This issue requires immediate attention, as it can lead to further degradation of the paint beneath.
Identifying these imperfections is crucial for executing effective paint correction strategies, ensuring your car maintains its shine and longevity.
Step-by-Step Guide to Performing Paint Correction at Home
Paint correction is essential for restoring the aesthetic appeal of your vehicle’s exterior. This guide outlines a systematic approach to achieve optimal results at home.
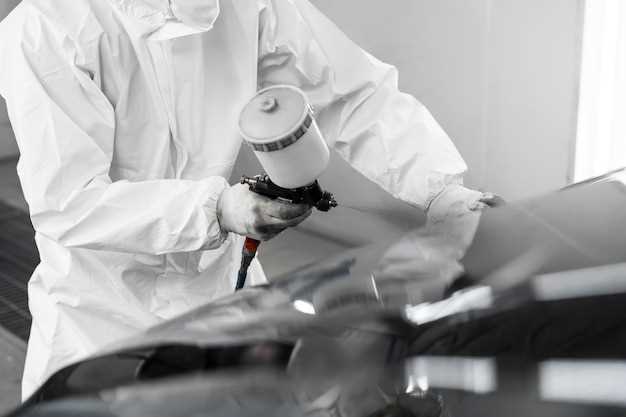
Begin by gathering the necessary materials: a dual-action polisher, cutting and polishing compounds, microfiber towels, a spray bottle with water, and an applicator pad. Ensure your workspace is clean and well-lit to facilitate detailed work.
Start with a thorough wash of the vehicle. Use a pH-balanced car shampoo to remove dirt, grime, and previous wax residues. It’s crucial to dry the surface completely to prevent water spots during the correction process.
Next, inspect the paint for imperfections such as swirls, scratches, and oxidation. Use a bright LED light or a halogen work lamp to identify these defects more clearly. This will help you determine the areas that need the most attention.
Once you’ve identified the problem areas, apply a small amount of cutting compound to the applicator pad. Set the dual-action polisher to a low speed, and begin working on a small section of the vehicle. Use overlapping passes to ensure even coverage, and gradually increase the speed as you become comfortable with the process.
Monitor the paint closely while polishing. After a few passes, wipe the area with a microfiber towel to check your progress. If defects remain, repeat the process until you achieve the desired level of correction.
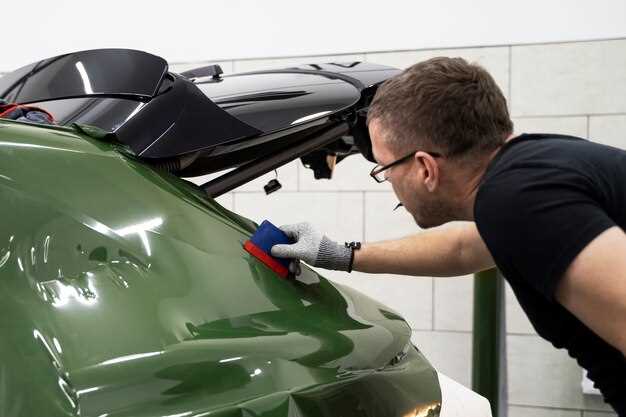
After successfully correcting the paint, it’s time to use a polishing compound to refine the surface. This step enhances clarity and shine. Again, employ a dual-action polisher, this time with a softer pad. Work in the same systematic manner, ensuring to apply light pressure.
Once finished, thoroughly clean each area with a microfiber towel to remove any residue from the compounds. After polishing, consider applying a high-quality sealant or wax to protect the freshly corrected paint. This step is crucial for preserving the work you’ve done and enhancing the finish.
Finally, let the sealant cure according to the product instructions. Regular maintenance is key; wash your vehicle gently and regularly to prolong the results of your paint correction efforts.
Choosing the Right Products and Tools for Optimal Results
Selecting the appropriate products and tools for paint correction is crucial to achieving optimal results. The effectiveness of the correction process greatly depends on the quality and compatibility of the materials used. Start by evaluating the type of imperfections present on the vehicle’s surface. Common defects include swirl marks, scratches, and oxidation, each requiring specific products for efficient correction.
Start with a high-quality polishing compound. The formulation should match the severity of the imperfections; lighter abrasives work best for minor flaws, while more aggressive compounds are necessary for deeper scratches. Additionally, use a dual-action or rotary polisher for consistent results. Each tool has its benefits: rotary polishers often remove severe imperfections faster, but dual-action polishers provide a safer option for beginners and minimize the risk of burning the paint.
Choosing the right pads is equally important. Foam pads come in various densities and types, allowing for tailored correction processes. Softer pads are ideal for polishing and finishing processes, while more aggressive pads are suitable for cutting through deeper imperfections. Always pair the pad with the appropriate polish to maximize effectiveness and minimize damage to the paint surface.
Finally, don’t overlook the importance of a washing and claying process before starting paint correction. Removing surface contaminants ensures that your efforts yield the best results. Use a gentle car shampoo followed by a clay bar treatment to create a clean working surface. Attention to detail at this stage can significantly impact the final outcome and longevity of the paint correction.


