


In the world of car restoration, achieving a flawless finish is essential. One of the most critical steps in this process is sanding, which sets the foundation for applying primer and paint. Proper sanding not only enhances the overall appearance of the vehicle but also ensures that the new paint adheres correctly to the surface.
When restoring a car, the goal is to remove imperfections, rust, and old paint layers. This is where effective sanding techniques come into play. By using the right grits and methods, enthusiasts can create a smooth surface that facilitates better bonding of the primer. A well-prepared surface minimizes the risk of peeling or chipping, leading to a more durable finish in the long run.
Moreover, correct sanding techniques can significantly impact the longevity and quality of the restoration. Neglecting this crucial step can result in uneven surfaces, which can compromise the aesthetic and functional aspects of the vehicle. Therefore, understanding the importance of proper sanding is vital for anyone serious about achieving an exceptional car restoration project.
Choosing the Right Sanding Tools for Your Project
Selecting the appropriate sanding tools is critical for achieving a flawless finish in car restoration. Different projects require different techniques and tools to address specific surfaces and materials. Understanding the characteristics of various sanding tools ensures that you make the best choice for your restoration needs.
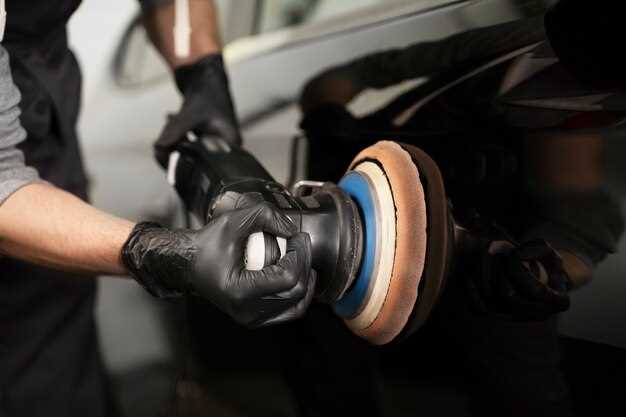
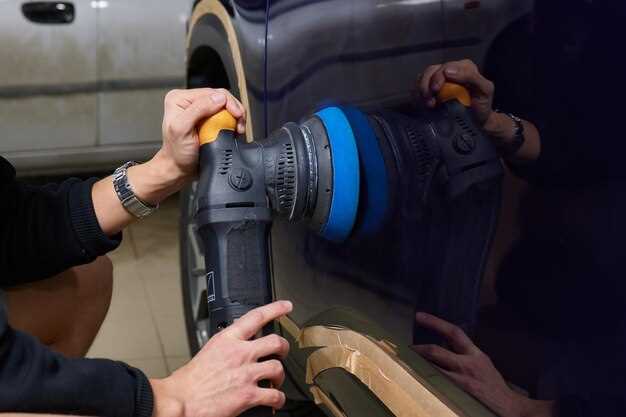
When it comes to sanding, the first decision involves choosing between manual tools and power tools. Manual sanding blocks offer greater control and are effective for intricate areas. Power sanders, like orbital sanders or belt sanders, provide speed and efficiency, especially for larger flat surfaces. However, the technique used with each type of tool will greatly impact the outcome.
Another essential factor is the type of sandpaper. Sandpaper comes in various grits, ranging from coarse to fine. Coarse grits are effective for removing old paint and rust, while finer grits are suitable for smoothing surfaces before painting. It is important to start with a coarser grit and gradually progress to finer grits, allowing for a more uniform surface finish.
Specialized sanding tools can also be beneficial depending on your project. For example, sanding sponges are useful for contouring and reaching curved surfaces, while sandblasting equipment can efficiently strip paint from large flat areas. Choosing the right tool can enhance your sanding technique and lead to better adhesion of new paint layers.
In conclusion, the right sanding tools can significantly influence the quality of your restoration project. By carefully selecting the appropriate tools and techniques, you ensure a smooth surface that is ready for the next steps in the restoration process.
Step-by-Step Guide to Mastering Sanding Techniques
Mastering sanding techniques is essential for achieving a smooth and flawless finish in car restoration. Follow this step-by-step guide to enhance your sanding skills effectively.
Step 1: Choose the Right Tools – Begin by selecting suitable sanding tools. Electric sanders, orbital sanders, and hand sanders all have unique benefits. Choose the one that fits your project’s requirements. Additionally, select a range of sandpaper grits, starting from coarse (60-80 grit) for heavy material removal to fine (400-800 grit) for finishing touches.
Step 2: Prepare the Surface – Ensure the surface is clean and free from dust, grease, or rust before sanding. Wash the area thoroughly, allowing it to dry completely. Proper preparation is crucial as it allows for better adhesion of paint and reduces the risk of imperfections.
Step 3: Start with Coarse Grit – If you are working on a surface with significant imperfections, begin with coarse grit sandpaper. Use even, consistent pressure and sand in a circular motion to prevent uneven areas. Ensure you cover the entire surface evenly to avoid low spots.
Step 4: Progress to Intermediate Grit – After addressing major flaws, switch to an intermediate grit (120-220 grit). This step refines the surface and removes scratches left by the coarse grit. Employ the same technique of circular motions while gradually working up to finer grits.
Step 5: Finish with Fine Grit – Finally, use fine grit sandpaper (400 grit and above) for the finishing stage. This step smooths out any remaining imperfections and prepares the surface for painting or clear coating. Light, even pressure is advised during this stage to avoid damaging the surface.
Step 6: Clean the Surface Again – After sanding, thoroughly clean the surface to remove dust particles. Use a tack cloth or a damp cloth to wipe the area. Proper cleaning minimizes contaminants that could affect the final finish.
Step 7: Inspect Your Work – Take the time to inspect your work after sanding. Notice any areas that might need additional attention. This step is crucial to ensure a smooth base for paint application.
By following this step-by-step guide, you will gain confidence in your sanding technique, leading to exceptional results in your car restoration projects.
The Role of Primer in Achieving a Flawless Finish
Primer is essential in the car restoration process, serving as the foundation for the final paint layers. Its primary purpose is to create a smooth, even surface that enhances adhesion while providing an additional barrier against rust and other environmental factors.
One crucial aspect of using primer effectively is the technique employed during application. Proper sanding before priming ensures that any imperfections or old paint remnants are removed, allowing the primer to adhere uniformly. This prevents issues such as peeling or bubbling in the final finish.
After applying primer, a second round of sanding is often necessary. This step smooths out any texture from the primer coat and helps in leveling the surface, preparing it for the subsequent layers of paint. The grit of the sandpaper used during this phase should be selected carefully to avoid damaging the primer while ensuring a flawless surface for the topcoat.
In summary, the role of primer extends beyond mere surface coverage; it is a vital component that influences the overall quality of the finish. By combining effective techniques in both primer application and sanding, restorers can achieve a professional-looking outcome that highlights the beauty of the vehicle.


